You may recall that about this time last year, I built a single keg cooler that chilled and dispensed homebrew. Yes, well, that was cute and all, but this year we are going bigger. With the lame one-keg-at-a-time restriction, we had to wait until one keg blew before serving out of the second one. Boo. Less waiting, more drinking!
 |
| Don't look so surprised, little ice box. Upgrades are inevitable. |
We decided to double our capacity and be able to serve out of the two kegs we have prepared for Labor of Love: Palo Alto Wit and Hurricane Hefeweizen. We might have a few 9*8*7 Russian Imperial Stout bottles to share at the event, but those will be chilling nicely on ice until everything sort of winds down at the end. Now on to the build!
I should mention that we use pin-lock kegs primarily, which are a tad shorter and larger in diameter than ball-lock kegs. To each their own, but pin locks are usually a little cheaper, too. The working dimensions for pin-lock kegs are about 23" tall and 9.25" in diameter. For this configuration, the tops of the kegs will be protruding from the top of the cooler, but the important thing to remember is that the beer draws from the bottom of the keg. This means that all the ice inside the cooler will be keeping the beer cool inside the keg before being drawn out into a serving glass.
First, we scanned the cooler selection at Academy. We chose the 100 qt Coleman Xtreme because it was large enough to fit 2 kegs side-by-side with several inches of ice between them, and it had wheels. Not to mention, when waiting 20 minutes in line at Academy, it makes a handy impromptu bench. (Seriously, why is it that every time we go to Academy, it looks like the panic shopping done before a hurricane?! Why does everyone need to rush out all at once and buy 4 Yeti tumblers?! Is that a freaking priority?!)
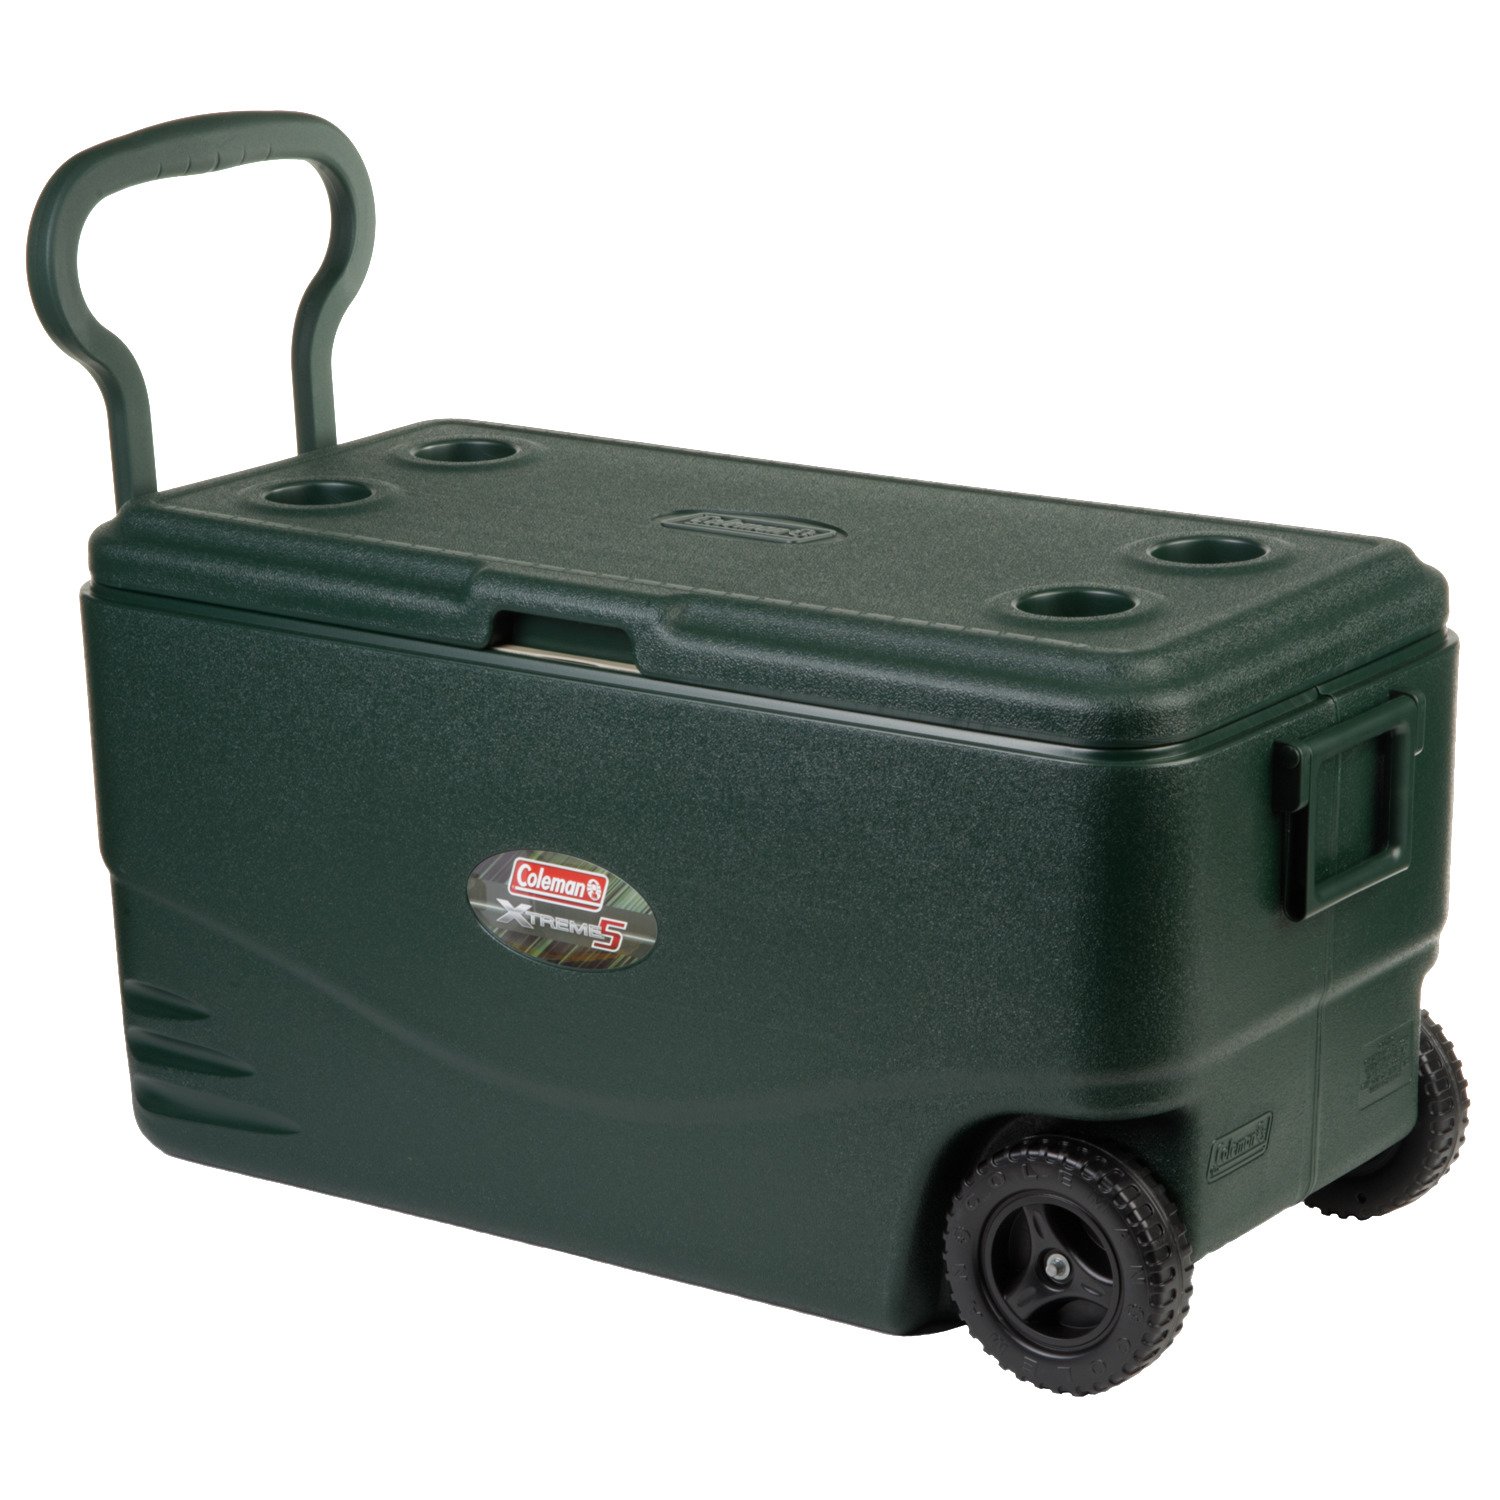 |
| Coleman Xtreme 100 quart cooler |
Next, I made a template of the each keg with a slightly larger diameter to allow each keg to slide in easily without letting too much cold air escape. I measured a piece of string at about 4.75" between the center and the circle, tied them to a chopstick and a pencil, remeasured because knots take up some length of string, and then traced a nearly perfect circle onto a pizza box lid. We lead a glamorous life, in case you haven't noticed. I then cut the circle out using a utility knife and realized my template was about a half inch too big. To correct this, I set a keg on top of the template and just traced the damn thing. Much better. Do this the first time. Chopstick, string, and pencil, what a bunch of b.s.
 |
| This is a stupid way to do this. Just trace the keg on some cardboard. |
Once I was pleased with the template, I pulled two empty kegs out to test the location of each in the cooler. I wanted enough room between them so that they would have an adequate amount of ice surrounding the entire keg. I also wanted to keep from destroying the cup holders on the lid, just in case I wanted to use them. Once lined up, I placed each template on the lid and traced the outlines with a sharpie.
 |
| After you trace your templates, drill pilot holes and then jigsaw! |
The next part can get a bit messy. The styrofoam used in these coolers makes a fine, statically charged powder that works its way into all cotton clothing. It also goes all over the place, and I'm sure it's not the most environmentally friendly stuff. Make sure to do your cutting and drilling on a hard surface (not carpet) so that you can easily sweep up after yourself.
To cut each hole, first start with a pilot holes drilled inside the circle template. You may have to drill a couple holes next to each other to allow the jigsaw blade to fit down in there. Once you've got the room, carefully saw just outside of the sharpie outline. Test to make sure your kegs fit. I had to adjust a few areas because ain't no such thing as a perfect circle.
 |
| If they fits, they sits. |
Swell! Now time to drill some holes for your faucet shanks. I used a 1" hole saw to drill through the front of the cooler. You want to make sure you located your faucets just to the left or right of where the keg will be. Remember that the shanks will need a little bit of room for you to tighten/remove hose clamps and beer line eventually.
 |
| Faucets should be a few inches either side of the keg to allow shanks/connections/beer line enough maneuvering room. |
 |
| That's the general idea! |
For a decorative touch, we decided we wanted a couple patches of chalkboard paint on which to display the beer names. If you live in Texas, you're well acquainted with coolers, so you know the outer surface is some weird kind of rough, uneven texture. Not the best for reading chalk writing. We taped off the area we wanted to paint and sanded it for a while to make a semi-uniform surface. If you have the time and interest, you can go from 60 grit to 100 to 150 and try to get that sucker baby's butt smooth. I got through a couple swatches of 60 grit, poured sweat, and decided we had achieved
the substrate we needed. |
| Screw sanding. It's never easy or fun. Or done. |
It's important to note here that masking tape is much more easily sanded than plastic, so you may have some little straggling strips of mangled tape left behind. No biggie, just get the larger pieces and don't sweat the small stuff. Next, we re-taped the areas for painting and applied about 4-5 coats to make sure we had a good, relatively smooth surface of chalkboard paint. When you remove the tape, make sure you don't accidentally peel up the paint with it. We had a little corner touch up to do because of this. If you want to get fancy and paint some kind of border around each chalkboard patch, go for it. We might or might not do that, haven't decided yet.
 |
| Chalkboard paint going on |
Finally, you'll need to drill one hole each for the beer line to enter the cooler from the top of each keg. I previously located my beer line holes inside a molded cup holder, but it would be nice to be able to used those guys. Instead, I split the distance between the cup holders and drilled a 1/2" hole on each side. Once you hook up each keg, get as much of the beer line back inside the frosty interior of the cooler as possible. Even though vinyl tubing does not transfer heat very well, every inch that's out of direct sunlight and Texas summer heat is an inch of cooler, more predictable beer. Assuming you've calculated the length of beer line you need correctly, you should have no trouble with foaming issues.
 |
| Keep that beer line cold! |
And there you have it! We gave our setup a dry run and tweaked a few things here and there to make for a smooth operation come festival day. If any of you have recommendations or better ideas, please comment below! Thanks for reading, and happy building!
 |
| I shall call it the Beerhemoth. |
No comments:
Post a Comment